Create High-Quality ID Cards On Demand with Badgy Card Printers
In today’s fast-moving business world, professional identification cards are no longer optional — they are essential. Whether you run a small office, a school, a retail store, a gym, or manage corporate events, having an in-house card printing solution saves time, money, and hassle. That’s where Badgy card printers come in — offering simple, affordable, and professional ID card printing designed for everyday businesses.
If you’re looking for a reliable and user-friendly card printer in Australia, here’s everything you need to know about choosing the right Badgy solution for your organisation.
Why Businesses Are Moving to In-House Card Printing
Outsourcing ID card printing may seem convenient, but it often comes with delays, minimum order quantities, and ongoing costs. When staff change, students enrol mid-term, or visitors require temporary access badges, waiting days for printed cards isn’t practical. By investing in a Badgy card printer, businesses gain:- Instant card printing on demand
- Full control over design and branding
- Reduced long-term costs
- Improved security and professionalism
- Flexibility for small or large print volumes
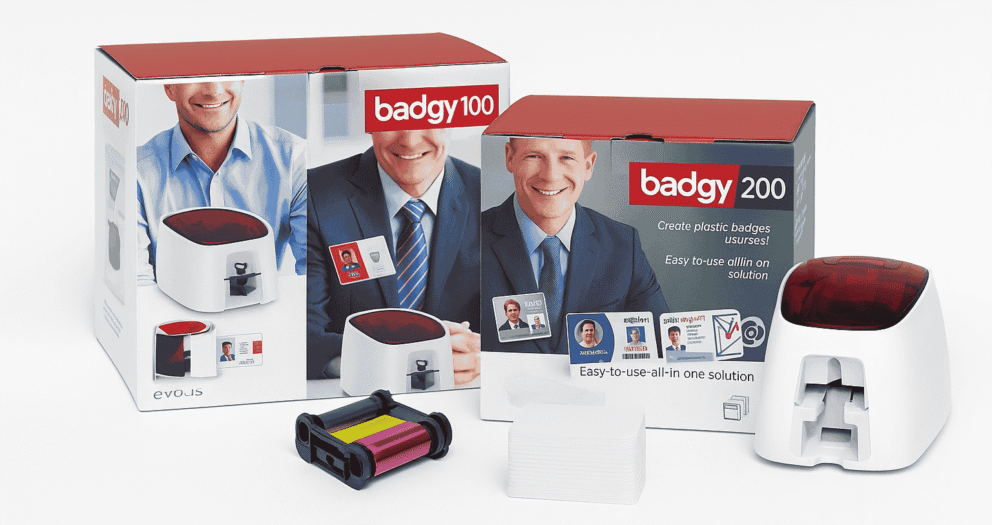
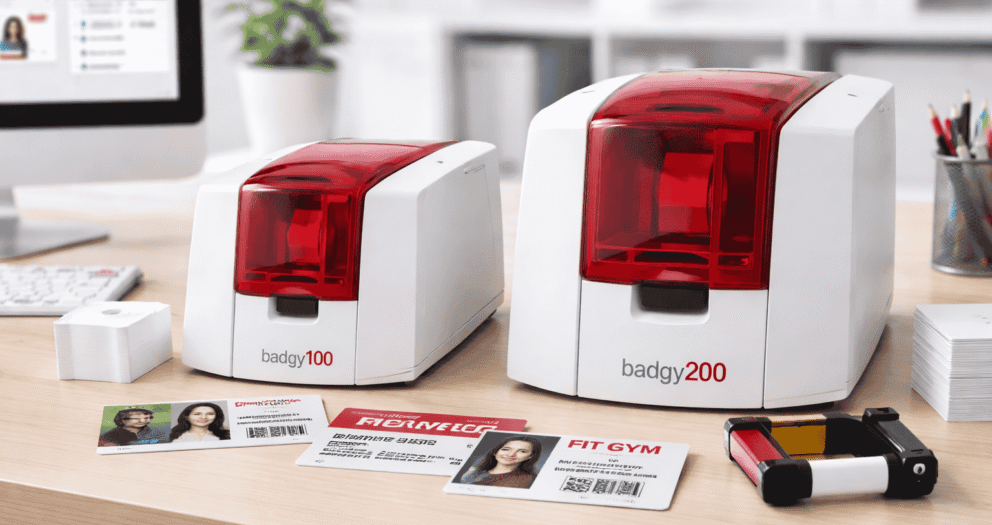
Meet the Badgy Card Printer Range
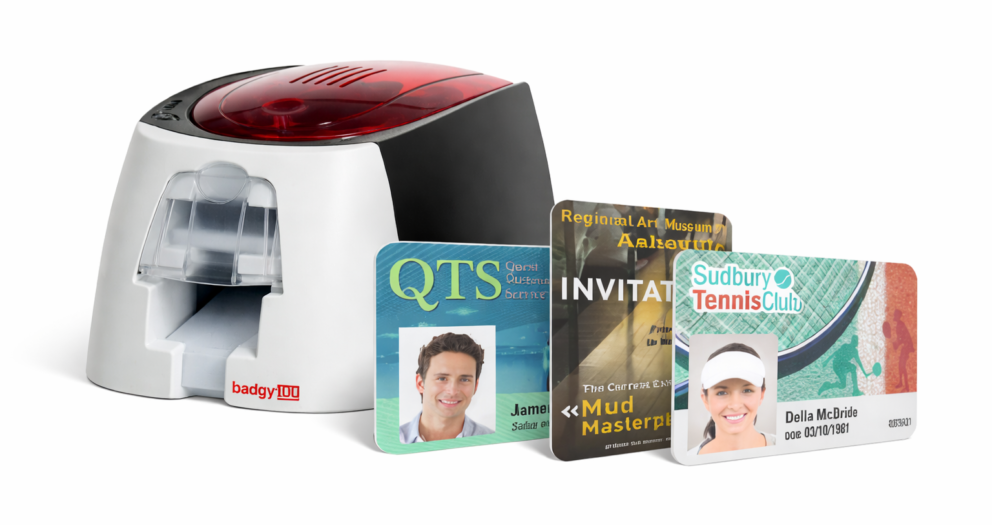
At Badgy, you’ll find two main models designed specifically for small to medium organisations: the Badgy 100 plastic card printer and the Badgy 200 plastic card printer. Both models are compact, easy to set up, and ideal for producing high-quality PVC cards. Let’s explore what makes each model unique.Badgy 100 Plastic Card Printer – Simple & Efficient
The Badgy 100 plastic card printer is the perfect entry-level solution for businesses that need a straightforward and affordable way to print ID cards. Ideal For:- Small offices
- Start-ups
- Retail shops
- Membership clubs
- Visitor badge printing
- Compact and lightweight design
- Easy installation and setup
- High-quality colour printing
- User-friendly card design software included
- Cost-effective for small batches
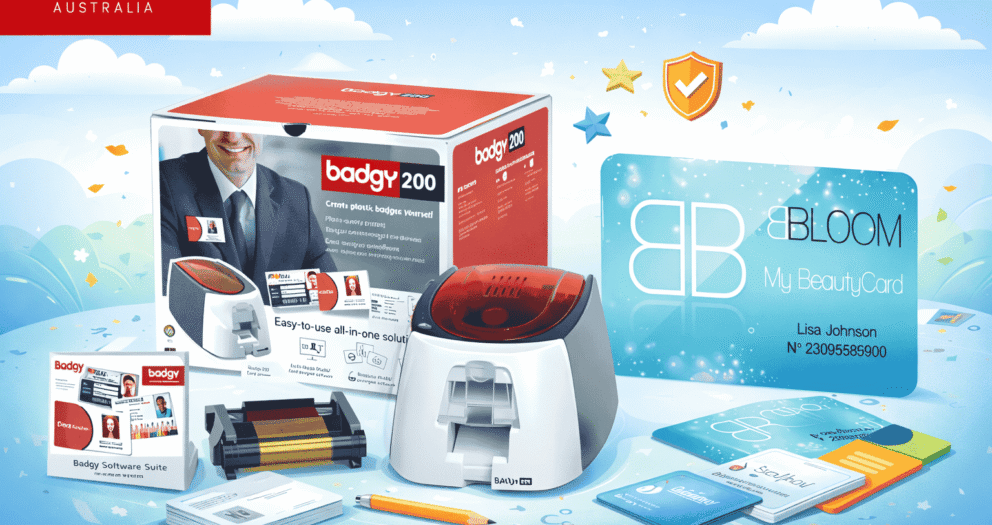
Badgy 200 Plastic Card Printer – Advanced & Versatile
For organisations that require more frequent printing or enhanced features, the Badgy 200 plastic card printer offers greater flexibility and speed. Ideal For:- Schools and colleges
- Corporate offices
- Gyms and fitness centres
- Events and conferences
- Medium-sized businesses
- Faster print speeds
- Improved print resolution
- Larger card input capacity
- Professional-grade results
- Enhanced software features
Professional Results Made Easy
One of the biggest advantages of choosing a Badgy card printer from badgy is how simple the entire process is. Each printer includes intuitive card design software, allowing you to:- Add company logos
- Insert photos instantly
- Customise layouts and branding
- Print barcodes or QR codes
- Save reusable templates
Applications Across Different Industries
A Badgy card printer is not limited to just employee ID cards. Businesses are using these printers for a wide range of purposes:Corporate Offices
- Employee ID badges
- Visitor access cards
- Contractor identification
Education Sector
- Student ID cards
- Staff passes
- Library cards
Retail & Hospitality
- Loyalty membership cards
- Staff identification
- VIP customer cards
Fitness & Clubs
- Membership cards
- Access control cards
- Event passes
Cost-Effective Long-Term Investment
While outsourcing might seem cheaper initially, costs quickly add up when you consider reprints, new hires, replacements, and urgent requests. With a Badgy 100 or Badgy 200 plastic card printer, you gain:- Lower per-card printing cost
- No minimum order quantities
- Immediate replacements
- Reduced shipping expenses
Compact Design for Modern Workspaces
Both the Badgy 100 and Badgy 200 are designed with modern Australian workplaces in mind. They don’t require large office space or technical rooms. Their compact footprint means they fit comfortably on:- Reception desks
- Office counters
- Administration areas
- Event registration desks
Why Choose Badgy?
When purchasing a card printer, choosing the right supplier matters just as much as selecting the right model. At Badgy, customers benefit from:- Genuine Badgy products
- Australian-based support
- Reliable delivery
- Clear product guidance
- Easy online ordering
Which Badgy Card Printer Is Right for You?
Choosing between the Badgy 100 and Badgy 200 depends on your business needs.- If you print occasionally and want a simple solution → Badgy 100 plastic card printer
- If you print frequently and require faster output → Badgy 200 plastic card printer